
Images of my home observatory build
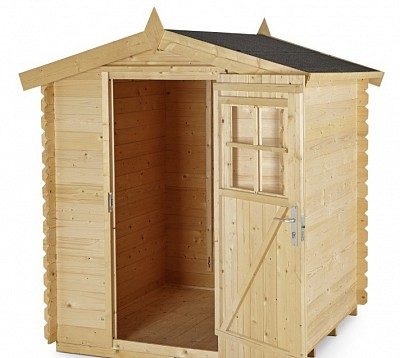
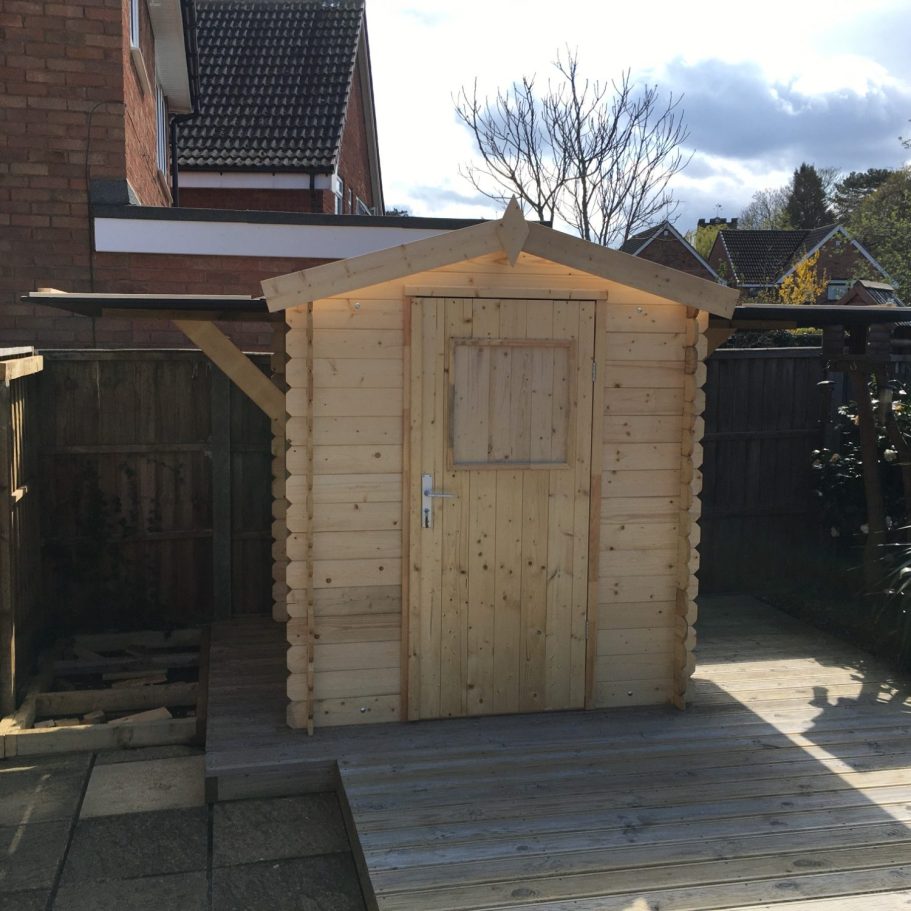
So I have decided to build an observatory around my existing steel pier, this will be purely to house the mount and scopes and have enough room to mover around in, if needed, my conservatory is only a couple of meters away so no need for a warm room. I decided on a shed conversion, the one shown above, it’s a sold construction of 20mm solid wood, and more importantly it comes with a solid door with good lock and hinges. It’s 5 foot square internally, which will be fine for my needs, and I found it reduced on the B&Q website from £570 down to just £300...perfect. The next thing was deciding on a roll off roof design or an open out in two halves design, and I have settled for the later.
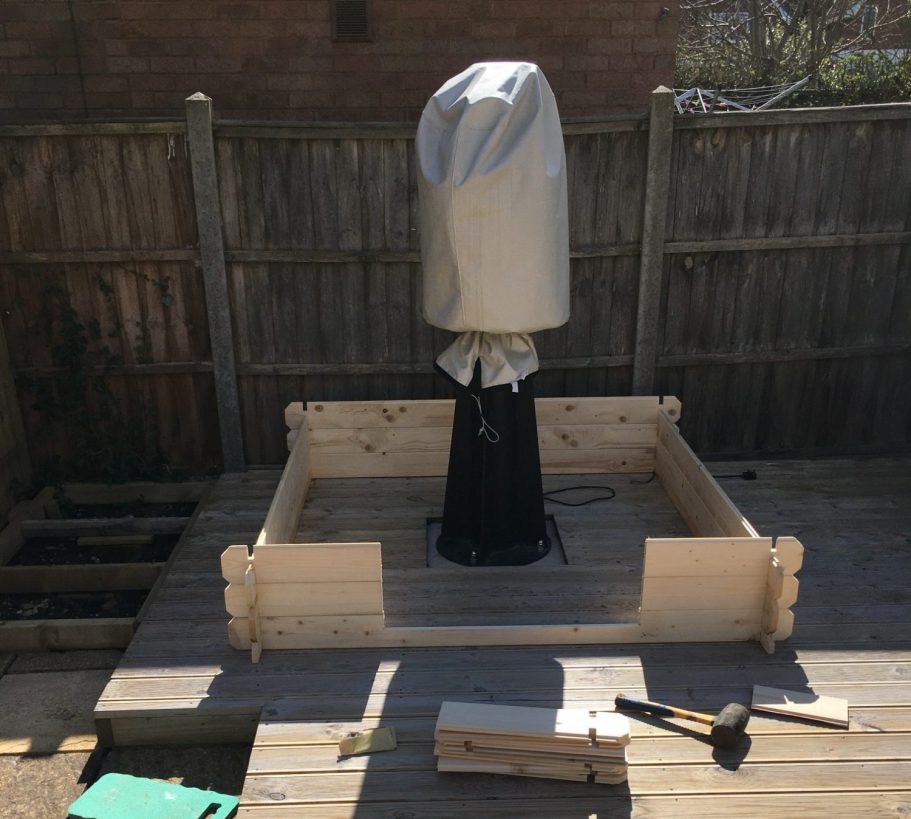
Ok, so the shed arrived and I soon got it all unpacked, to check and make sure all pieces were present and correct. Happily they were all there so the build began. I marked out the area, but knew it could be moved when needed as the frame was not massively heavy at this point...and final adjustments on position would be needed.
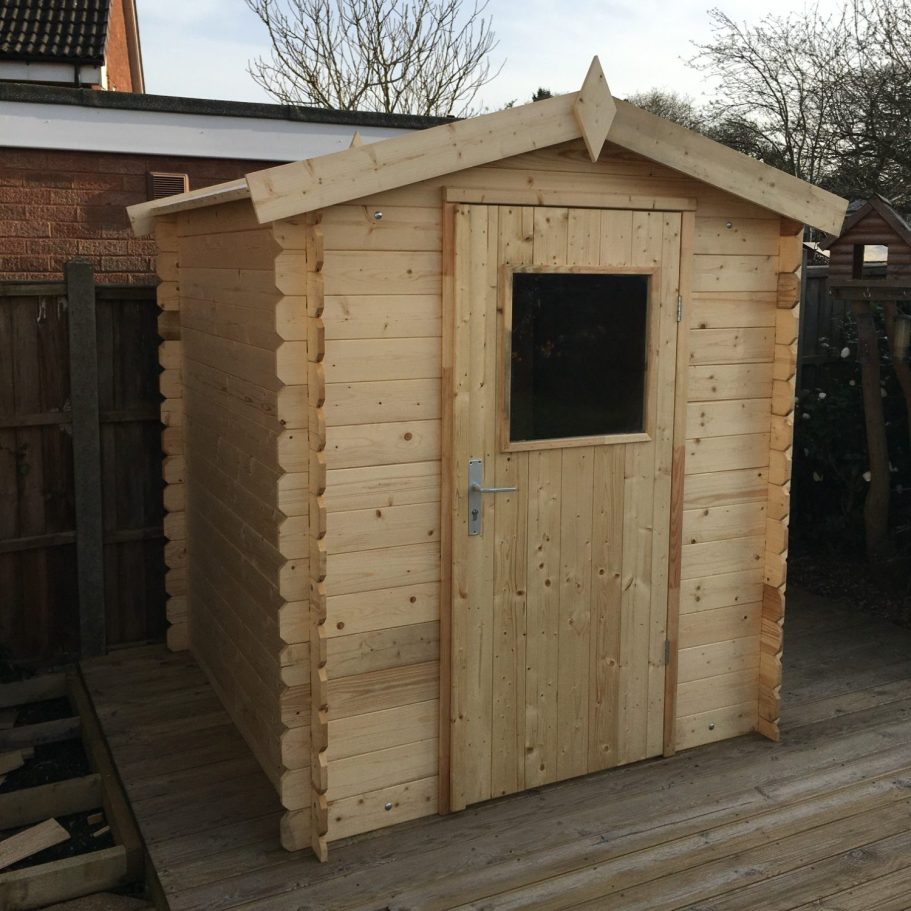
After approx 2 hours all the pieces of the main frame were fitted together, along with the two apex points which came ready made up. All had gone very well to this point and was happy with the days work so far, also the quality of the wood was better than expected for the money I paid.
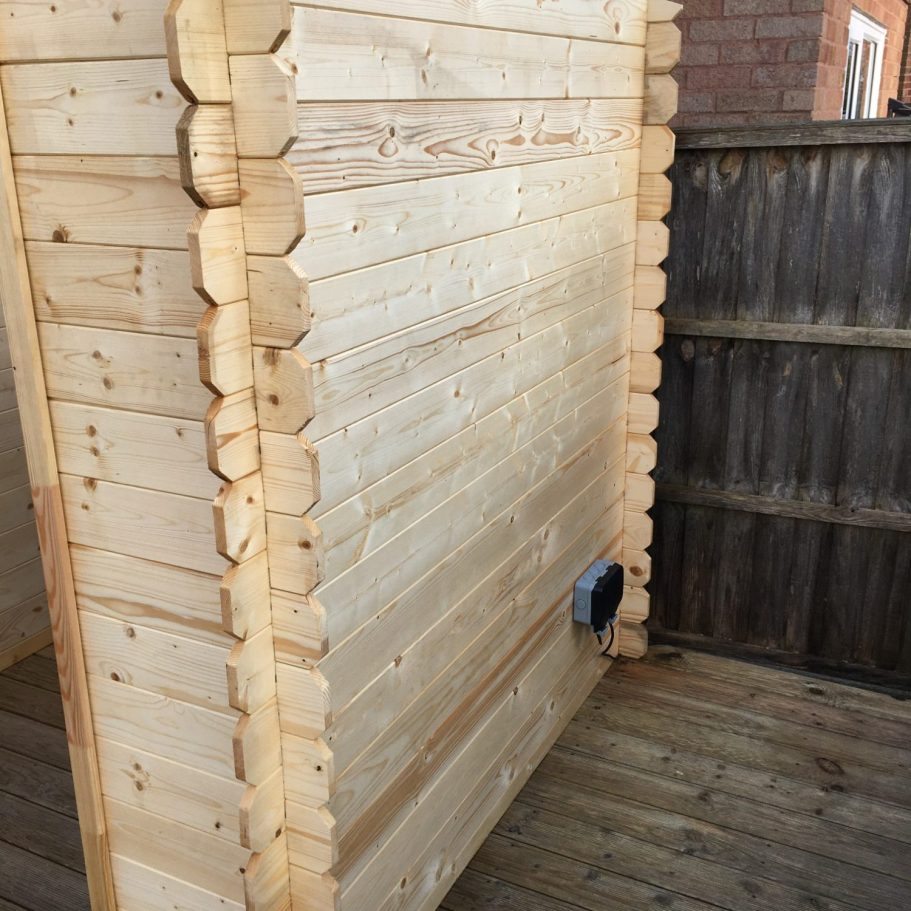
The next job was to move the dual outside Sockets I had fixed on the concrete fence post, which was now behind the shed so not accessible. I had to extend the main feed wire with an outside waterproof junction adapter to fit onto the side of the shed.
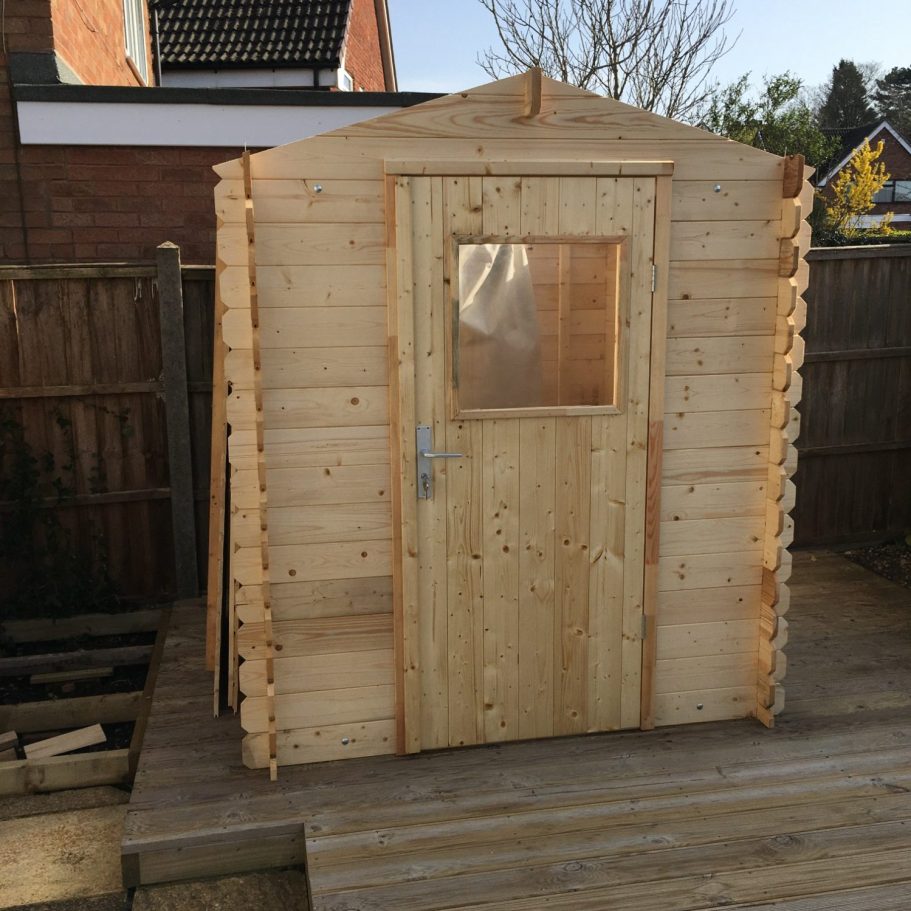
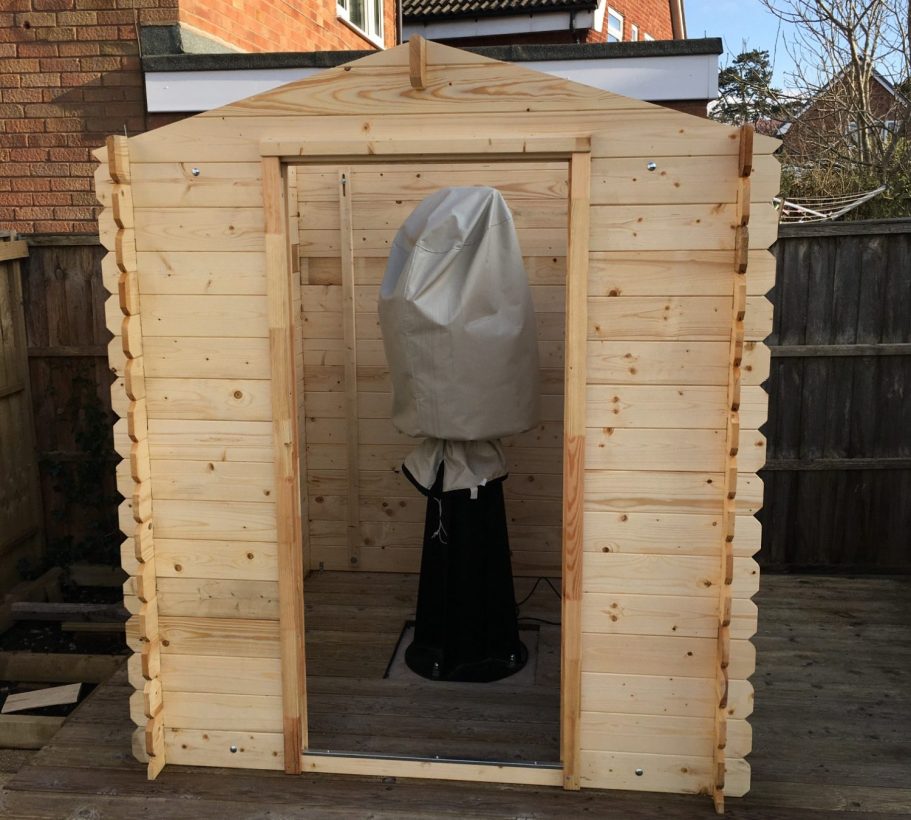
Next came the fitting of the nice solid, already assembled door, with good lock and a vandal proof Perspex window, (which I did not want). The frame was in three parts, two sides and the top, the sides were “U” shaped and just slotted onto the panels, and the top pieces screwed to the top of the uprights. I fitted the two 3” hinged and proceeded to hang the door. All good, so I proceeded with the lock. this was the last job on this first day of the build.
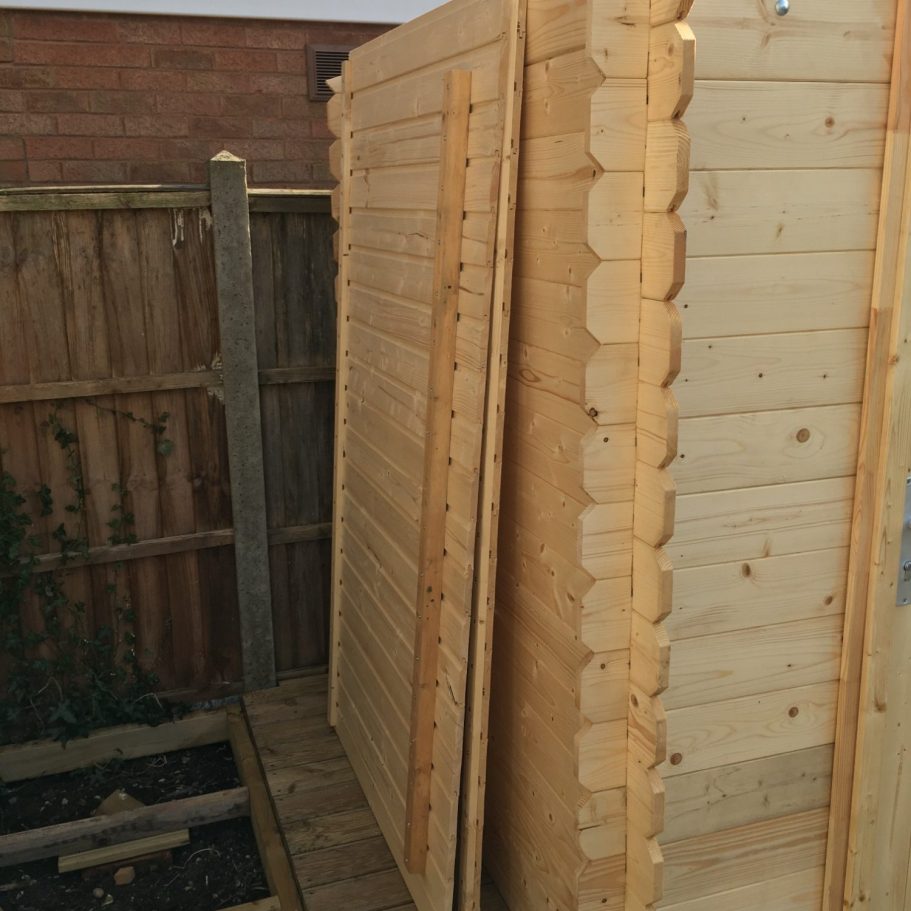
Now I was getting to the more complicated bits, making up the roof panels and then sorting out the hinged batons on the side of the shed to support the roof panels. The roof came in 16mm tounge and groove wood which I decided to glue, and add a couple of bearers across the width. I made it up the full size, but knew it would have to be trimmed for final fitting. This was the only job I got done on this second day of the build. So left them against the side of the shed overnight.
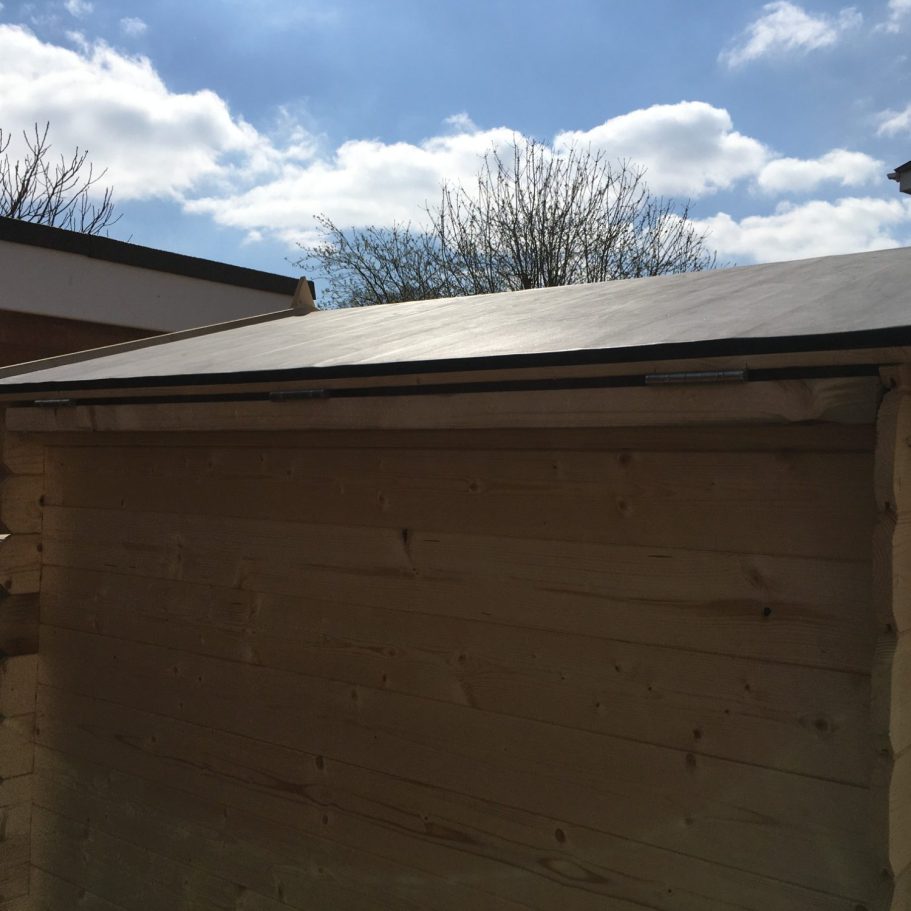
So first job today was to lift the roof panels into place, so see how they fit, and to affix the barge boards. These facials were going to be fixed to the edges of the roof panels, and so move with them, but I had a change of mind, and decided to fit them to the shed, and have the roof open independently inside of these, as the roof would still overlap the main frame by 3” all the way round, which was more than enough.
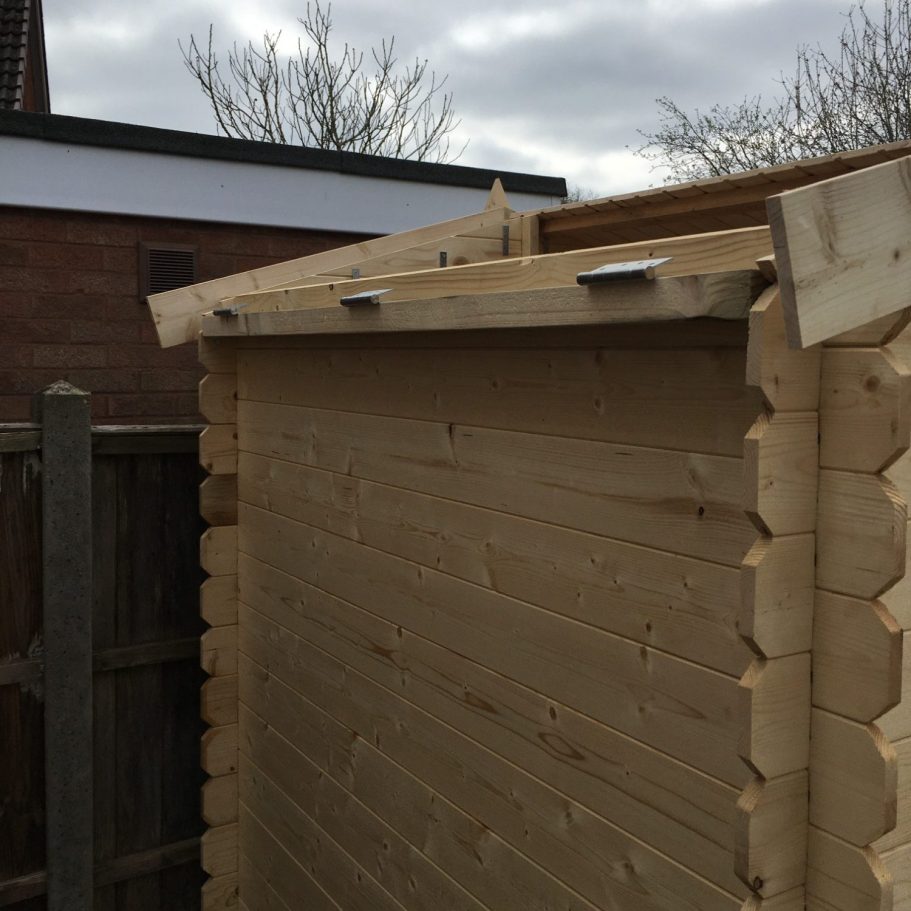
Then came the the supports for the hinges, for this I had some 4” x 2” tantalised timber, left over from my decking framework, so they were cut to length, and also to 3” x 2” size, which was a perfect fit. These were held in place with a screw in each end for now, while I refitted the roof panels and marked where the hinges would fit on both the support and the roof panels. These were then removed and hinges screwed into place on the supports. Then supports refitted with four large 6mm coach screws with 40mm penny washers from the inside of the shed through the into the supports for a solid fit. The hinges were 4” stainless steel fire door hinges which ran on bearings. These were plenty big enough for the job and came in packs of three from Amazon for £8 a pack.
Start of day three of the build. Once the supports were fitted now it was time to remove the roof panels, cut them to final size on the widths, and the length at the apex end...and fit the EDPM rubber membrane. The shed came with a roll of felt, but decided on EDPM as it was a bit lighter in weight. looked better when fitted and would last over 50 years, apparently... This was not easy to fit, I had never used it before and it was a learning curve, getting the rubber on at the correct time and making the corners look nice and neat, I stapled it under all the edges and fitted the drip trims on all three sides (not the apex side) and then fitted the hinges and support beam to the roof panel and hauled it up on the shed and secured the support beam back in place.
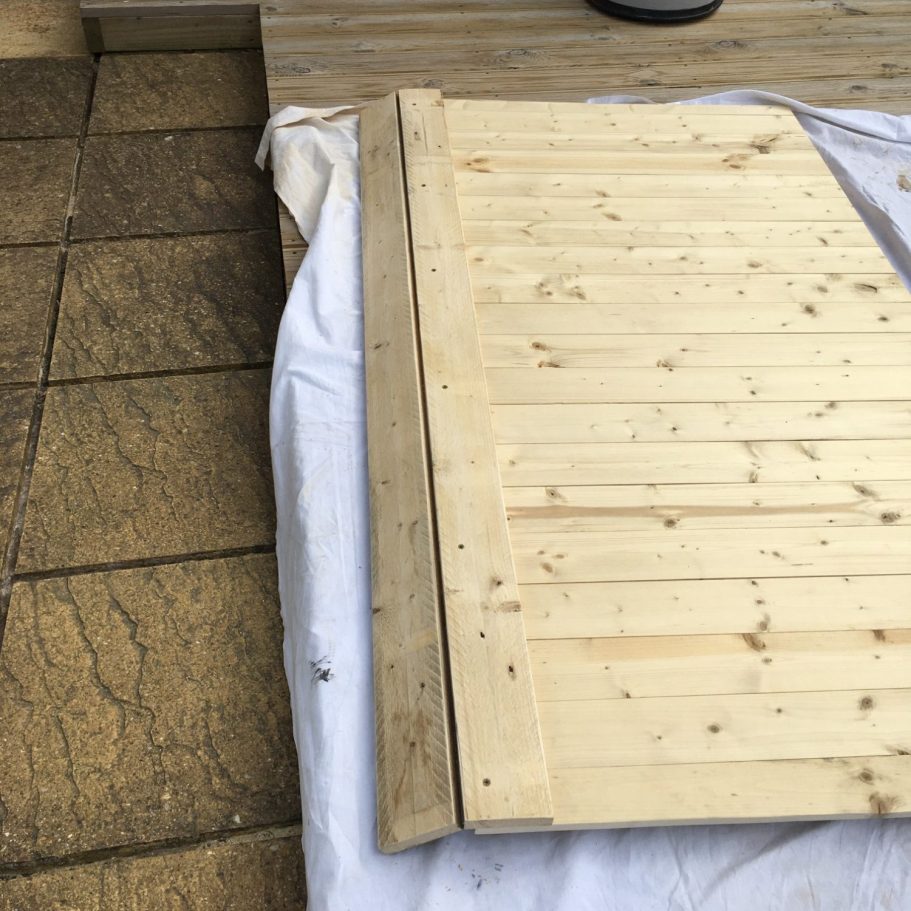
Then came the second roof panel, this one would have the apex piece I had made up from two pieces of wood that were part of the pallet the shed was delivered on, along with some metal brackets bent to the correct angle and also glued down the middle. This was screwed to the apex end of this west facing roof panel, with eight screws, it fit really well over the apex and should provide a good watertight seal, the overlap onto the other roof panel was approx 5” and when the rubber membrane is wrapped under it should seal nicely....time will tell....
So the end of day three of the build and all fitted and watertight, I was very happy witSo the end of day three of the build and all fitted and watertight, I was very happy with how the roof had worked out and it had fit perfectly as I had imagined, just need some bad weather now to test. The panels were a bit heavier than expected, but still fine for a big bloke like me to man handle.
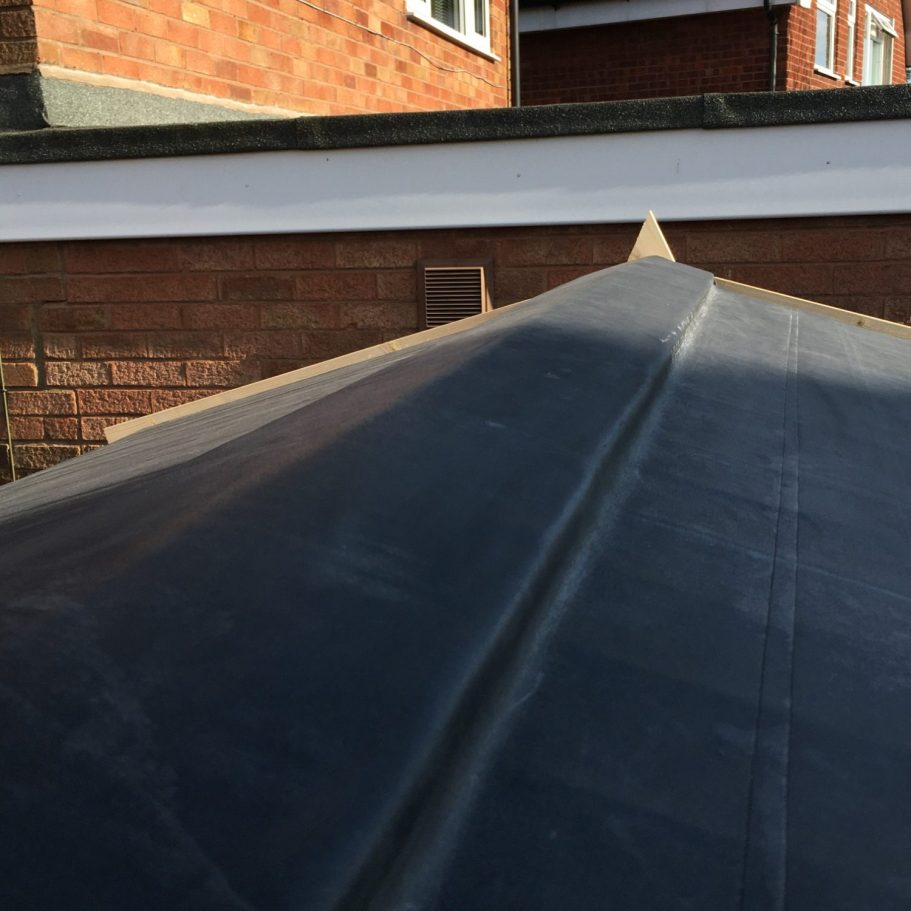
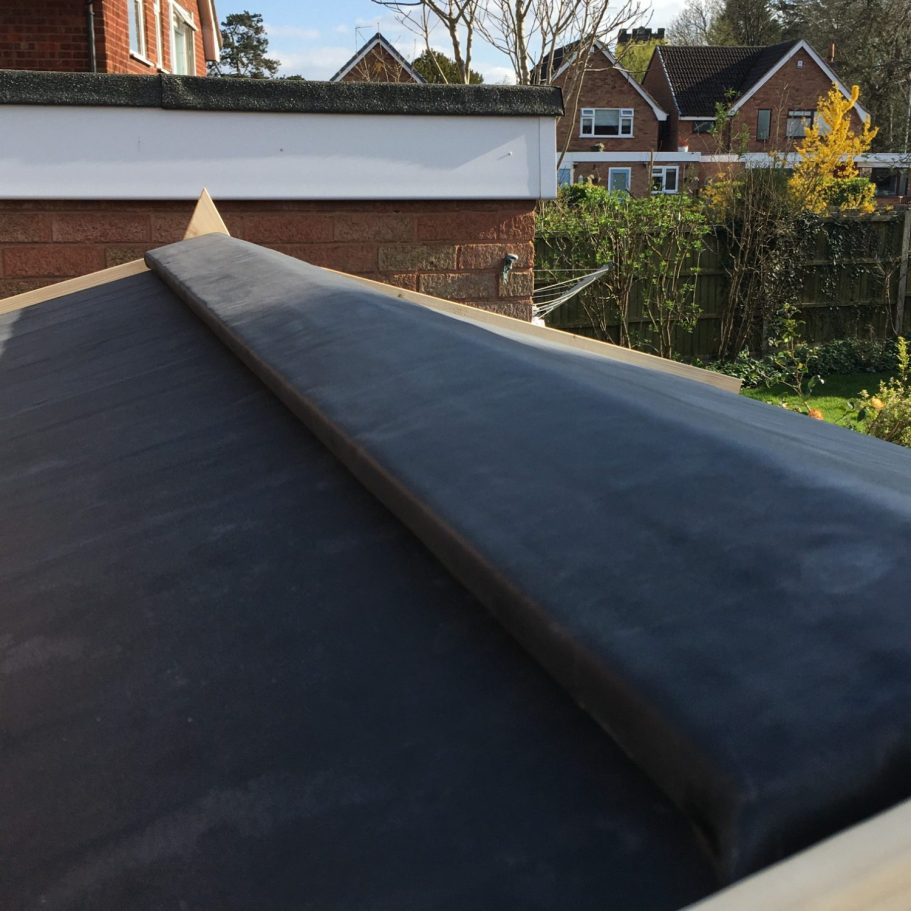
View of the west facing roof panel with wooden apex piece fitted and EDPM fitted over in one piece. It wasn’t easy to get the folds correct on the ends of the apex due to its shape, it took some trial and error, but i finally managed to get an acceptable finish, and besides it will only be seen when fully open, which will be at night most of the time anyway.
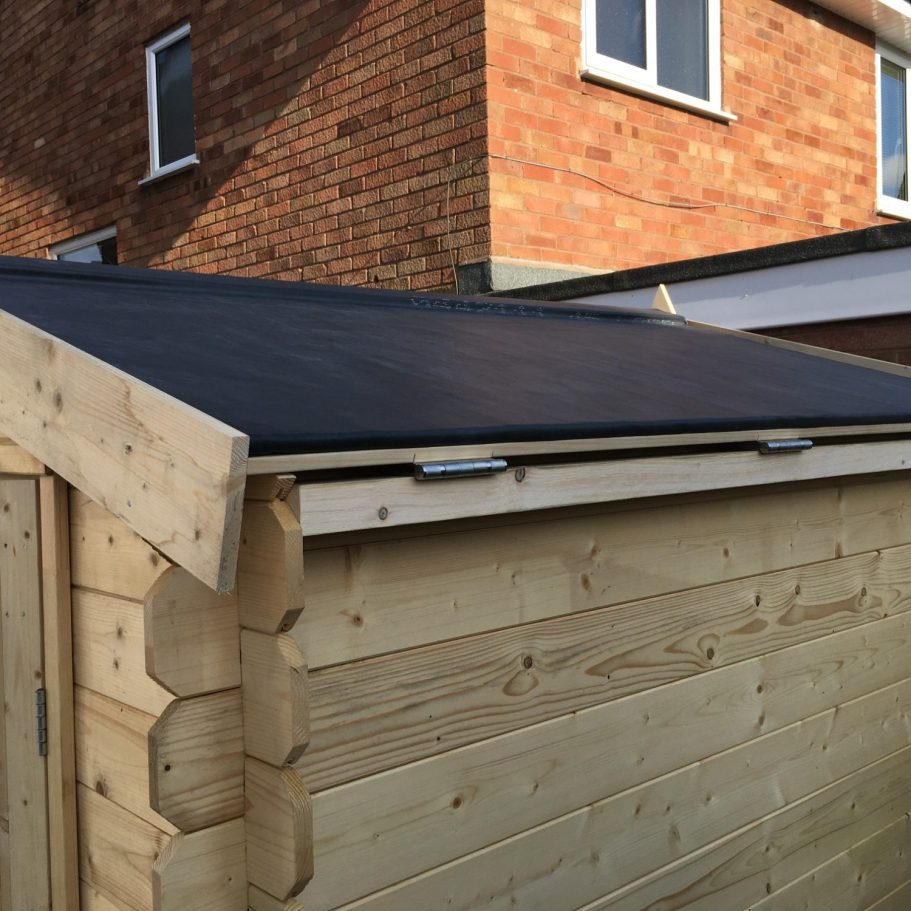
View of the joint of roof panels, it seems with rubber against rubber the seal was pretty good, it will have clamps on the inside to hold down in case of heavy winds.
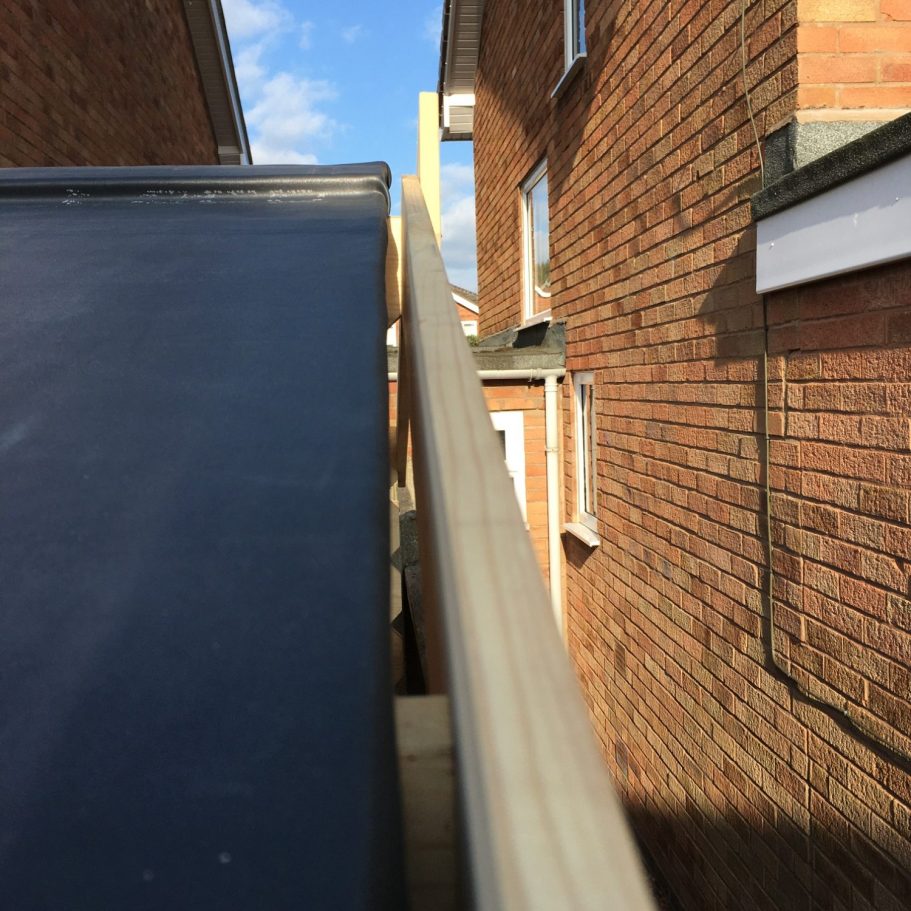
A gap of approx 10mm was left between the edges of the roof and the inside of the barge boards, I did not want the EDPM rubbing against the facias when opening and closing, as in time this would wear, but the roof was still overhanging the edges of the shed wall by approx 75mm all round, which was more than enough for a good seal and no chance or any water ingress.

Here you can see the drip rails fitted to the underside of the roof edges, to allow water to run off and not into the shed, this also covered the edges of the EDPM and where it was stapled to the underside.
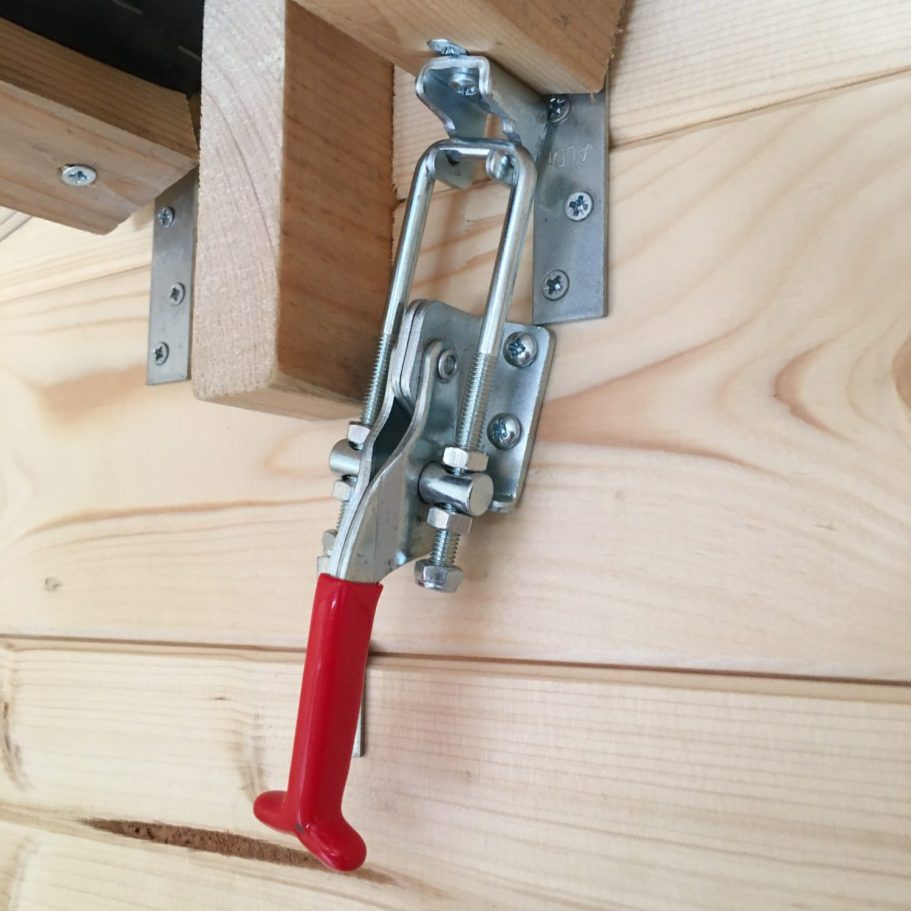
A good solid clamp was used on the inside at each end of the west facing roof panel, as this was the one with the apex, so held the other side shut.
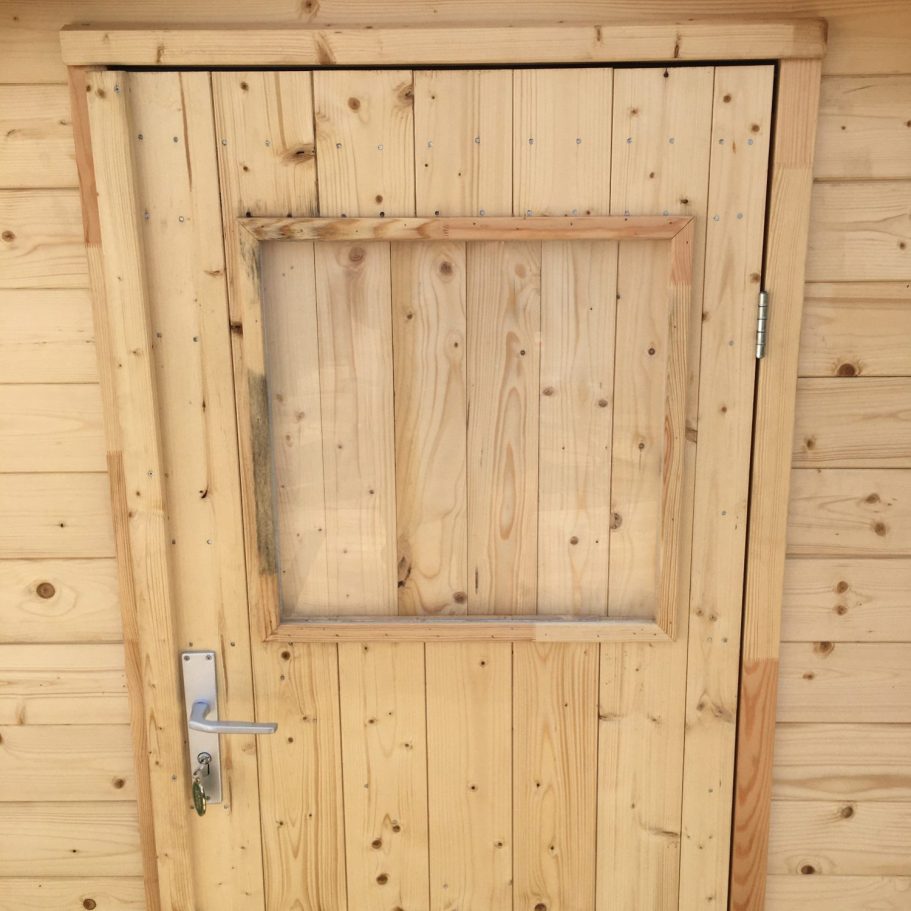
There was some spare 16mm T&G wood that came with the shed, I assume it was to pack out the shed while on the pallet, anyway I made use of it and made a piece that screws in on the inside of the window, for security reasons, like I said earlier the window was something I did not want but was part of the shed design, so had to accept it.
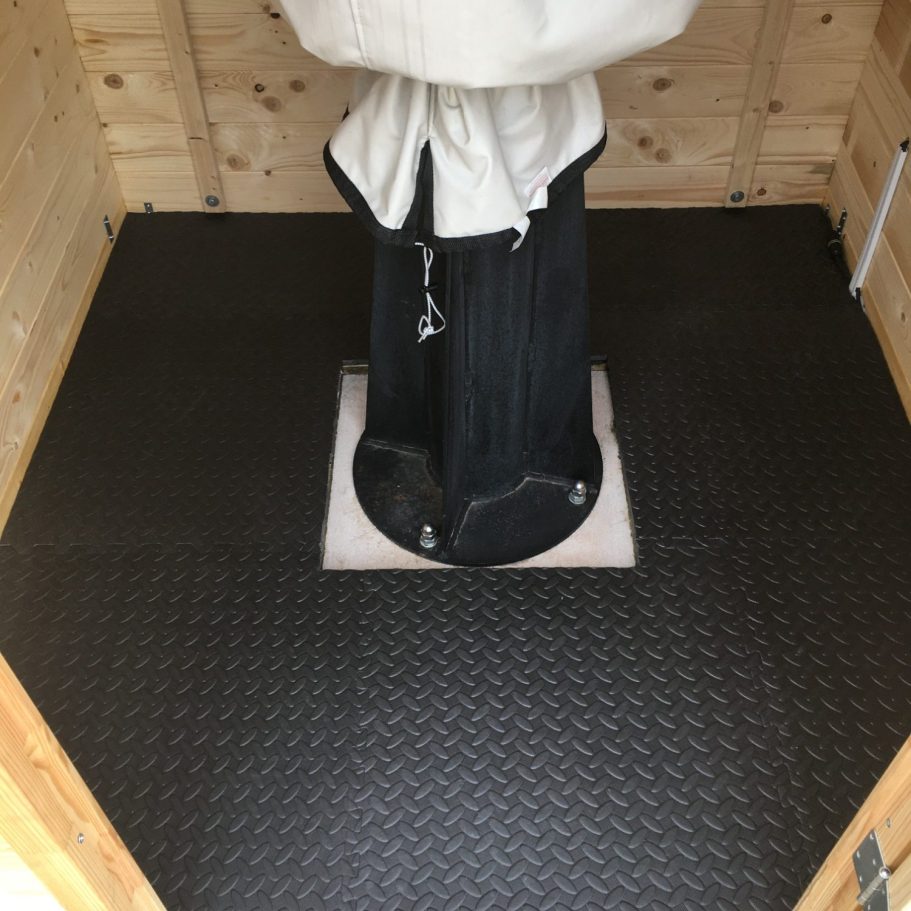
Next came the inside and the flooring, I put down a waterproof / breathable membrane, same as used on house roofs under the tiles, and then bought two packs of rubber interlocking tiles from Halfords, £12 per pack. They came in packs of six, each one 600mm square, I actually needs two packs, as I needed seven tiles...which meant I had five spare, so used those in my garage...
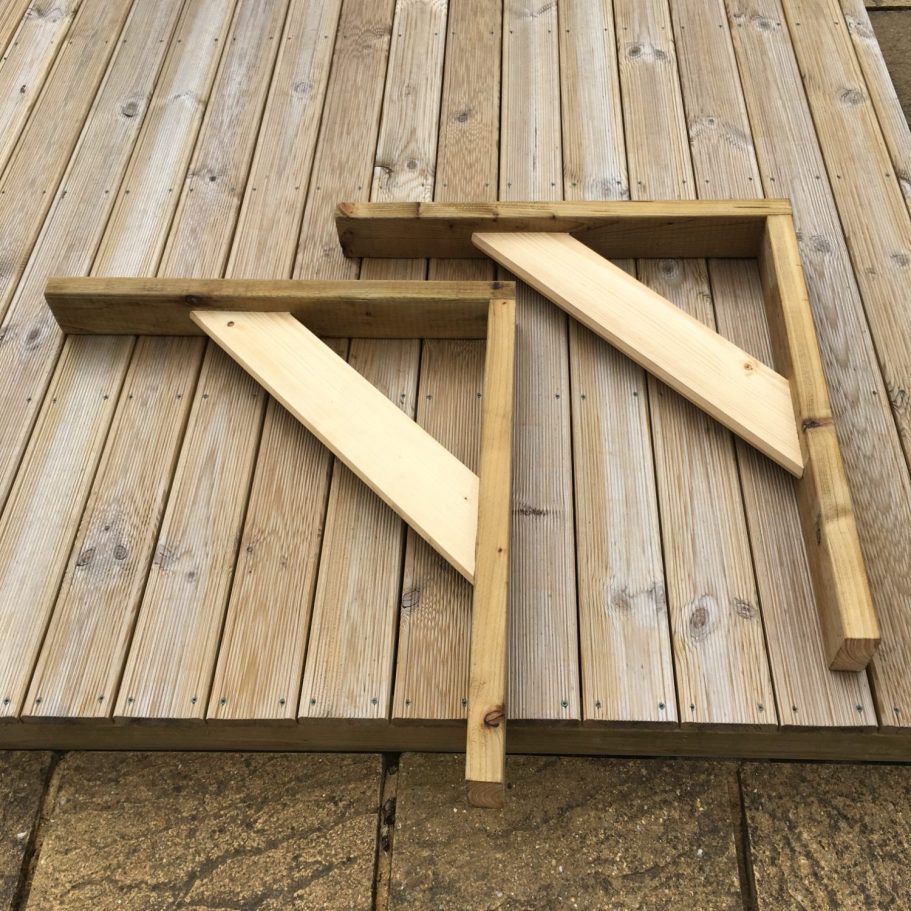
Next came the supports to hold the roof panels when fully open, these are gallows brackets, made of some 4” x 2” tanalised timber (I had left over from previous job) plus a piece of wood left over from the shed that I did not need, this was used to make the angled central pieces, they will be hinged to the sides of the shed, these will pull out to support the roof panels. They are 775 high and protrude 825mm, and the roof panels are 880mm, and will take the weight no problem. I have used 3” stainless steel fire door hinges which run on bearings, two on each side and are each rated at 40kg.
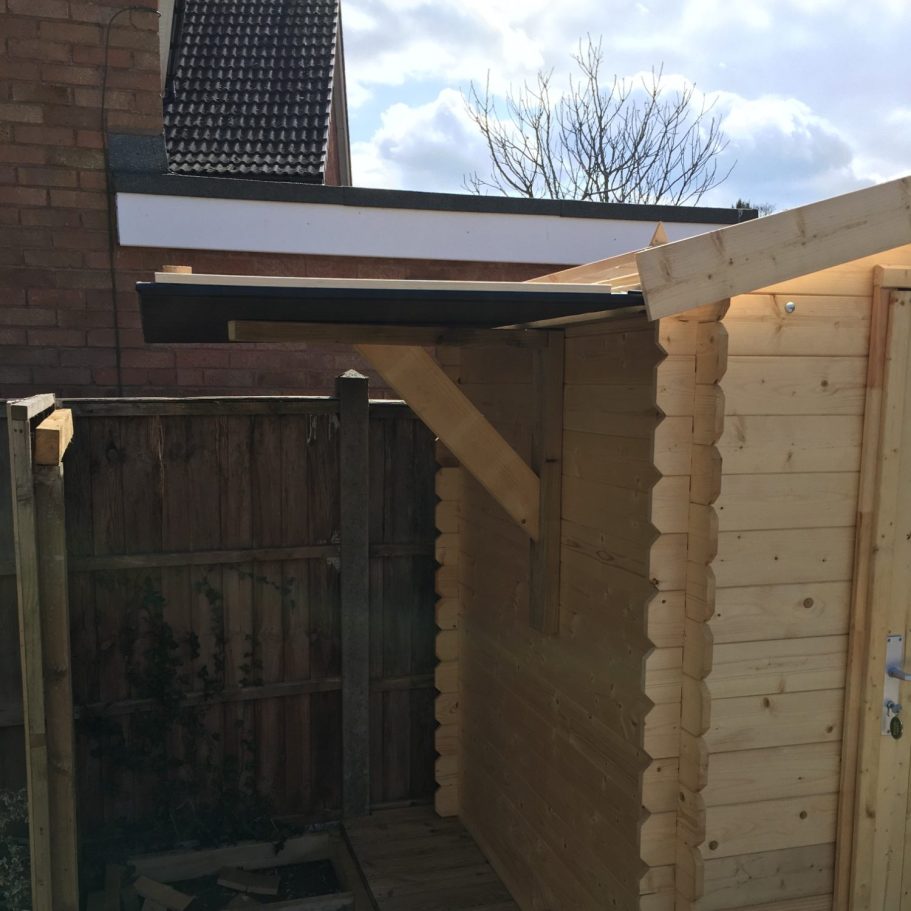
Support brackets fitted with 3” 40kg rated fire door hinges, which run on bearings. Also I fitted a 2” x 2” bearer on the inside of the shed where the hinges were screwed to, for added strength.
Finally with both roof support brackets fitted and the roof shown in fully open position. See below for full video of the opening and closing of the roof...