AstroShed

AstroShed

Menu

Observatory Build Continued....


View of the west facing roof panel with wooden apex piece fitted and EDPM fitted over in one piece. It wasn’t easy to get the folds correct on the ends of the apex due to its shape, it took some trial and error, but i finally managed to get an acceptable finish, and besides it will only be seen when fully open, which will be at night most of the time anyway.


View of the joint of roof panels, it seems with rubber against rubber the seal was pretty good, it will have clamps on the inside to hold down in case of heavy winds.


A gap of approx 10mm was left between the edges of the roof and the inside of the barge boards, I did not want the EDPM rubbing against the facias when opening and closing, as in time this would wear, but the roof was still overhanging the edges of the shed wall by approx 75mm all round,  which was more than enough for a good seal and no chance or any water ingress.


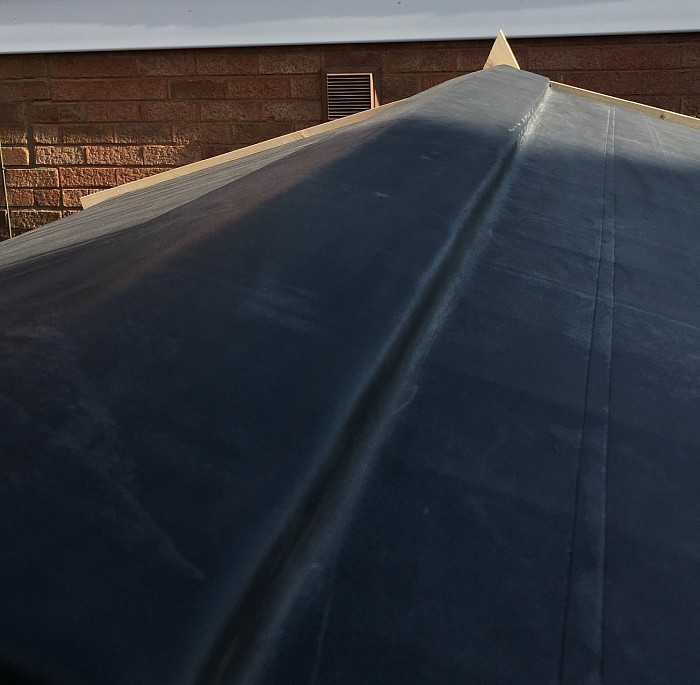
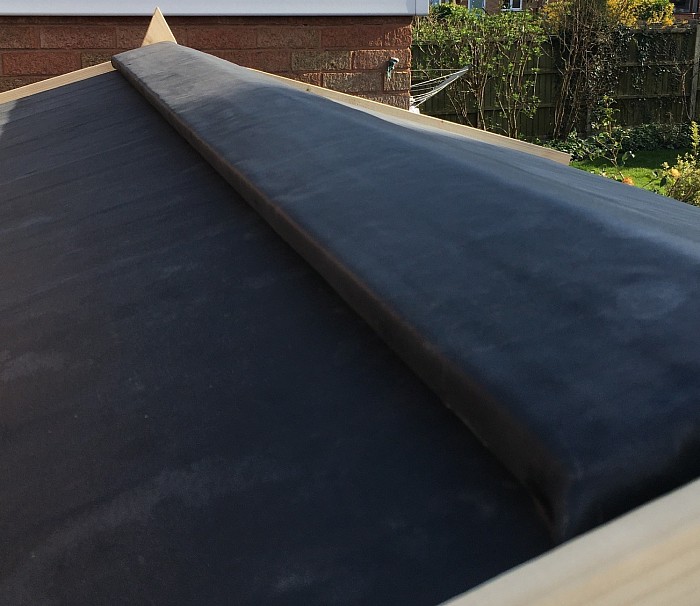
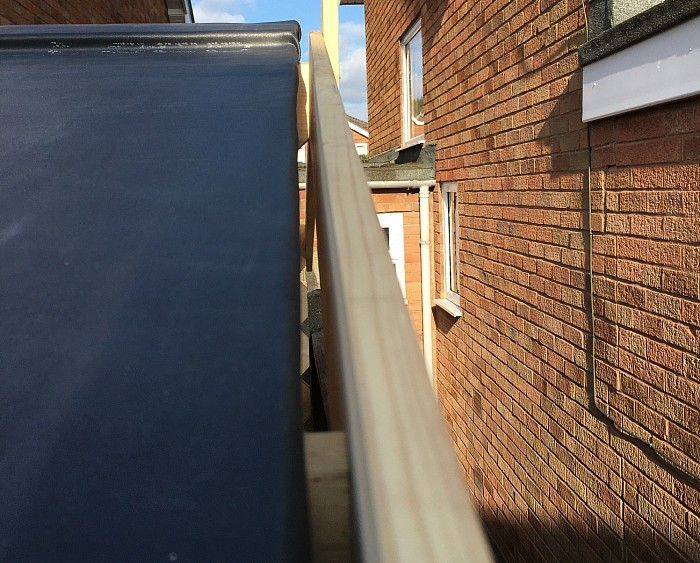
Here you can see the drip rails fitted to the underside of the roof edges, to allow water to run off and not into the shed, this also covered the edges of the EDPM and where it was stapled to the underside.


A good solid clamp was used on the inside at each end of the west facing roof panel, as this was the one with the apex, so held the other side shut.


There was some spare 16mm T&G wood that came with the shed, I assume it was to pack out the shed while on the pallet, anyway I made use of it and made a piece that screws in on the inside of the window, for security reasons, like I said earlier the window was something I did not want but was part of the shed design, so had to accept it.


Next came the inside and the flooring, I put down a waterproof / breathable membrane, same as used on house roofs under the tiles, and then bought two packs of rubber interlocking tiles from Halfords, £12 per pack. They came in packs of six, each one 600mm square, I actually needs two packs, as I needed seven tiles...which meant I had five spare, so used those in my garage...


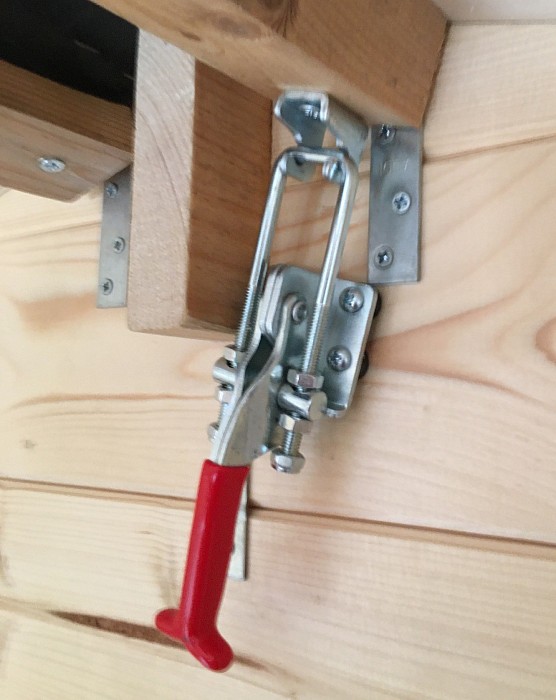
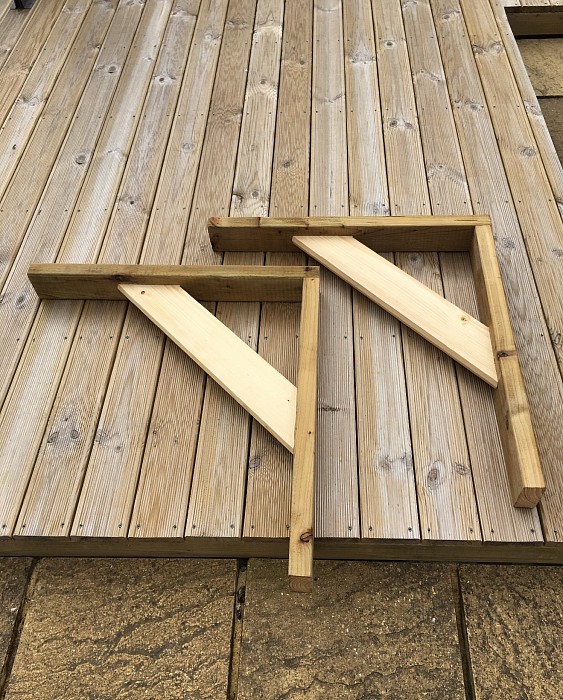
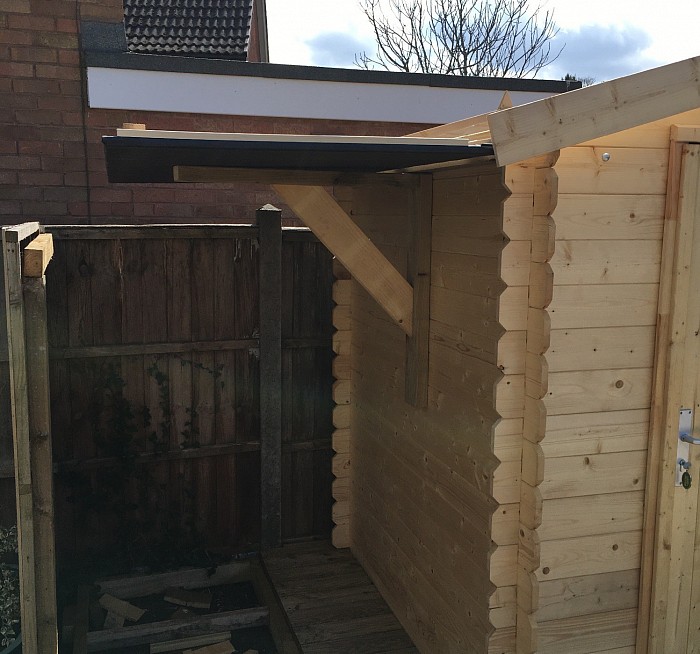
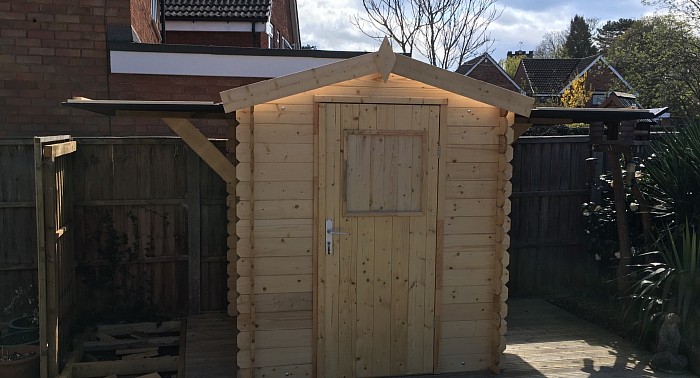
Next came the supports to hold the roof panels when fully open, these are gallows brackets, made of some 4” x 2” tanalised timber (I had left over from previous job) plus a piece of wood left over from the shed that I did not need, this was used to make the angled central pieces, they will be hinged to the sides of the shed, these will pull out to support the roof panels. They are 775 high and protrude 825mm,  and the roof panels are 880mm, and will take the weight no problem. I have used 3” stainless steel fire door hinges which run on bearings, two on each side and are each rated at 40kg.


Support brackets fitted with 3” 40kg rated fire door hinges, which run on bearings. Also I fitted a 2” x 2” bearer on the inside of the shed where the hinges were screwed to, for added strength.


Finally with both roof support brackets fitted and the roof shown in fully open position.

See below for full video of the opening and closing of the roof...
Site designed by Stewart William